Apollo(阿波罗)是携程框架部门研发的分布式配置中心,能够集中化管理应用不同环境、不同集群的配置,配置修改后能够实时推送到应用端,并且具备规范的权限、流程治理等特性,适用于微服务配置管理场景。服务端基于Spring Boot和Spring Cloud开发,打包后可以直接运行,不需要额外安装Tomcat等应用容器。目前从官网看Apollo提供了JAVA和.Net的客户端接入sdk。
https://github.com/ctripcorp/apollo/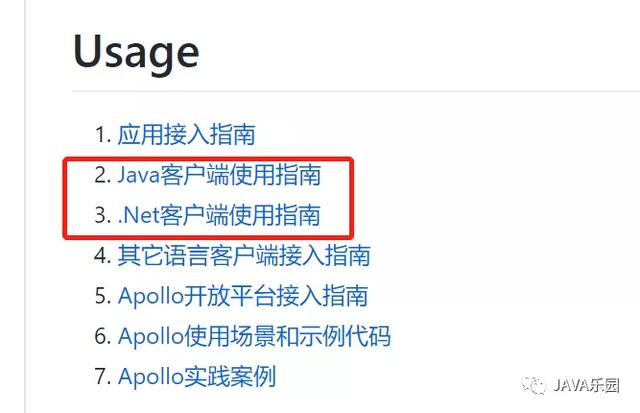
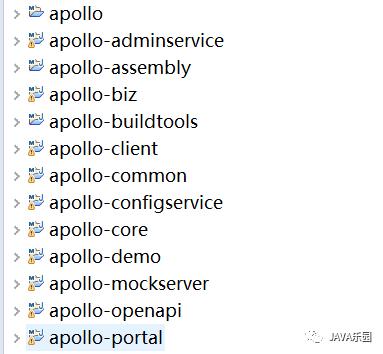
0x01:下载Apollo源码并导入eclipse
使用如下命令下载源码
git clone https://github.com/ctripcorp/apollo/
导入eclipse
0x02:创建数据库
Apollo服务端共需要两个数据库:ApolloPortalDB和ApolloConfigDB。所需的SQL脚本位于如下目录
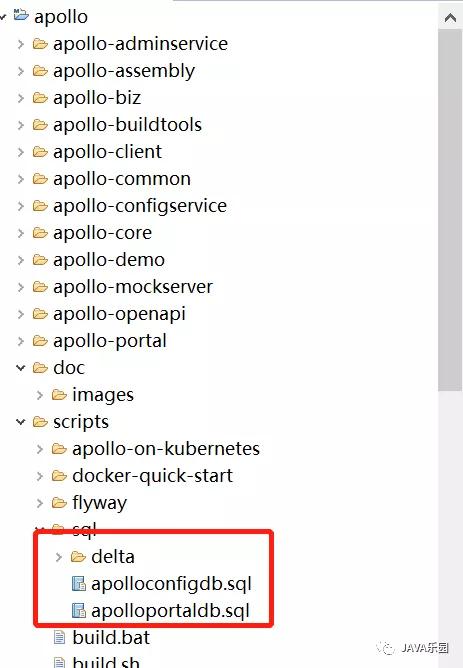
ApolloPortalDB如下:

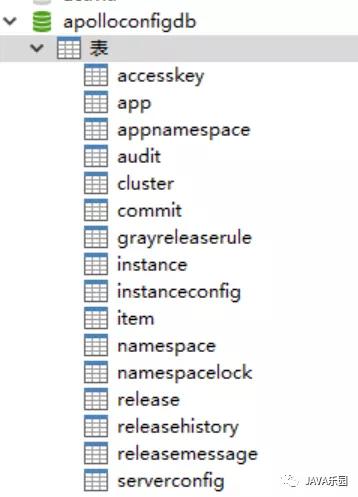
ApolloConfigDB如下:
0x03: 手动打包
先手动对Apollo进行一次打包,把对应的jar都安装到本地Maven,方便下一步进行Apollo启动,修改apollo-configservice、apollo-adminservice和apollo-portal的pom.xml,注释掉spring-boot-maven-plugin和maven-assembly-plugin,在根目录下执:
com.ctrip.framework.apollo.assembly.ApolloApplication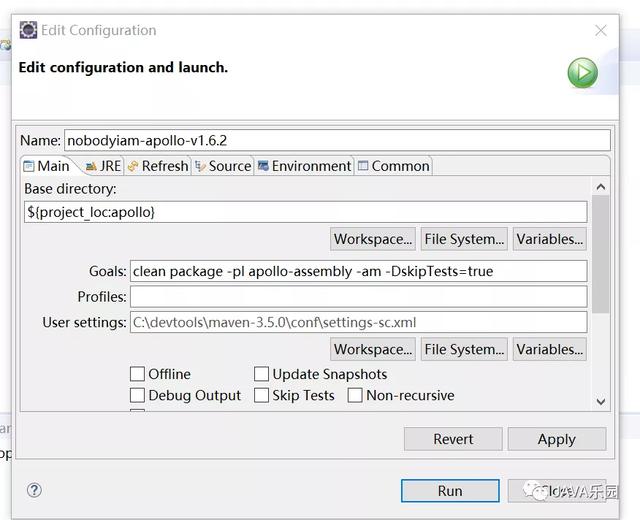
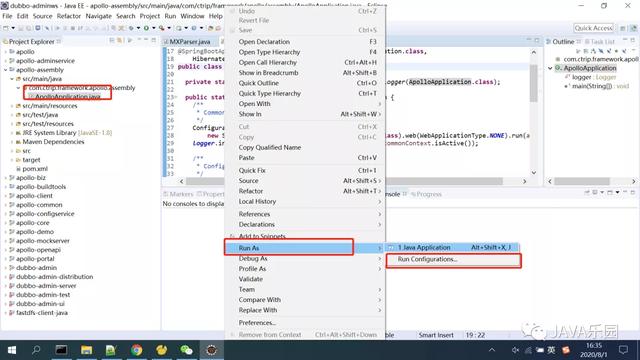
0x04:Apollo Config Service和Apollo Admin Service启动
在本地开发时,一般会在IDE中同时启动apollo-configservice和apollo-adminservice。Apollo可以同时启动apollo-configservice和apollo-adminservice,同时启动时使用ApolloApplication类
com.ctrip.framework.apollo.configservice.ConfigServiceApplication
com.ctrip.framework.apollo.adminservice.AdminServiceApplication
另外,如果希望独立启动apollo-configservice和apollo-adminservice,可以把Main Class分别换成:
com.ctrip.framework.apollo.configservice.ConfigServiceApplication
com.ctrip.framework.apollo.adminservice.AdminServiceApplication
配置com.ctrip.framework.apollo.assembly.ApolloApplication类
配置
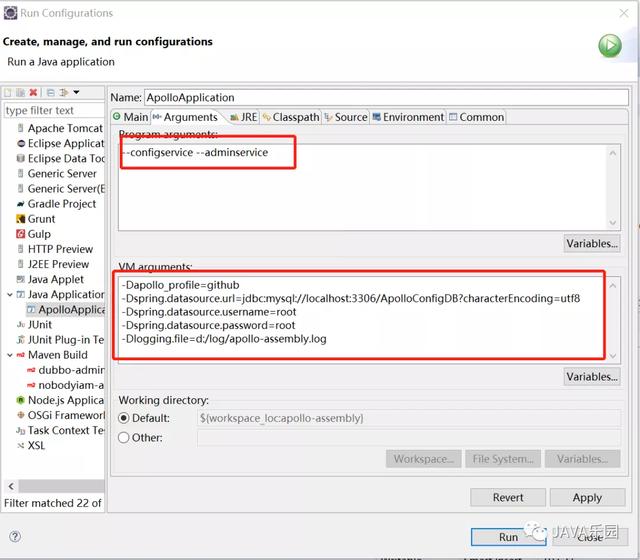
Vm options 配置
-Dapollo_profile=github
-Dspring.datasource.url=jdbc:MySQL://localhost:3306/ApolloConfigDB?characterEncoding=utf8
-Dspring.datasource.username=root
-Dspring.datasource.password=root
-Dlogging.file=d:/log/apollo-assembly.log
- datasource相关配置替换成你自己的数据库连接信息,注意数据库是ApolloConfigDB
- 程序默认日志输出为/opt/logs/100003171/apollo-assembly.log,如果需要修改日志文件路径,可以增加logging.file参数,如下:
-Dlogging.file=d:/log/apollo-assembly.log
Program arguments 配置
--configservice --adminservice
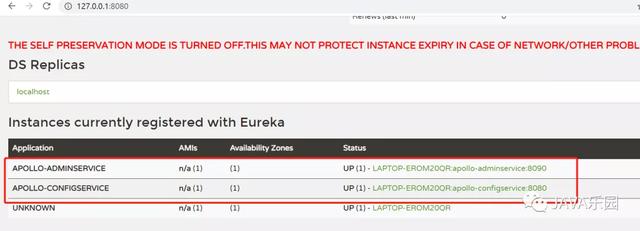
启动完后,打开http://localhost:8080可以看到apollo-configservice和apollo-adminservice都已经启动完成并注册到Eureka。
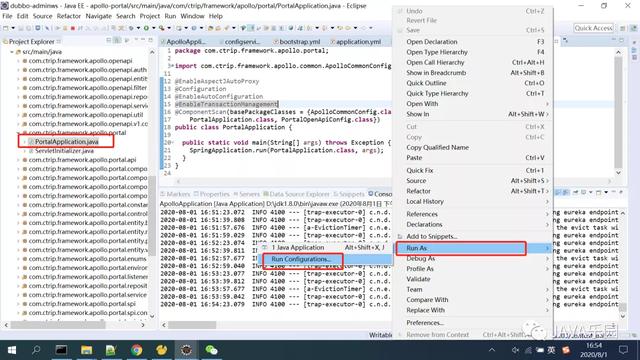
0x05:启动Apollo-Portal
启动Apollo-Portal需要用到PortalApplication类
com.ctrip.framework.apollo.portal.PortalApplication
配置PortalApplication类
配置:
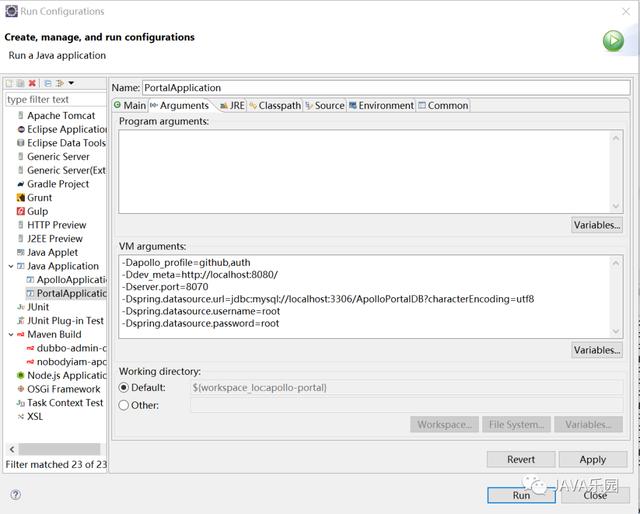
-Dapollo_profile=github,auth
-Ddev_meta=http://localhost:8080/
-Dserver.port=8070
-Dspring.datasource.url=jdbc:mysql://localhost:3306/ApolloPortalDB?characterEncoding=utf8
-Dspring.datasource.username=root
-Dspring.datasource.password=root
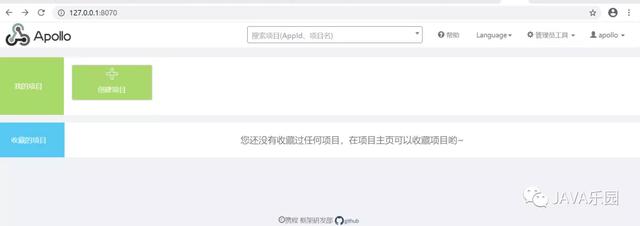
默认ApolloPortalDB中导入的配置只会展示DEV环境的配置,所以这里配置了dev_meta属性,如果你希望在本地展示其它环境的配置,需要在这里增加其它环境的meta服务器地址,如fat_meta。启动完后,打开http://localhost:8070就可以看到Apollo配置中心界面了,默认账号密码apollo/admin。
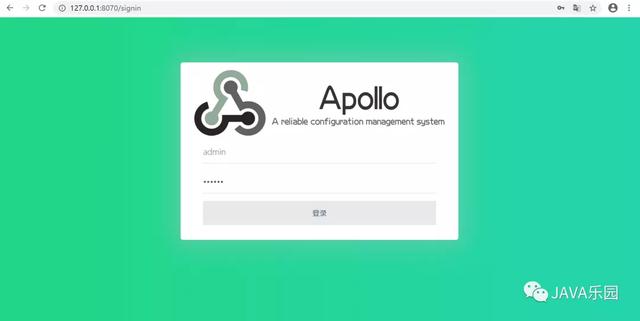
登录后
参考:https://github.com/ctripcorp/apollo/wiki/Apollo开发指南