
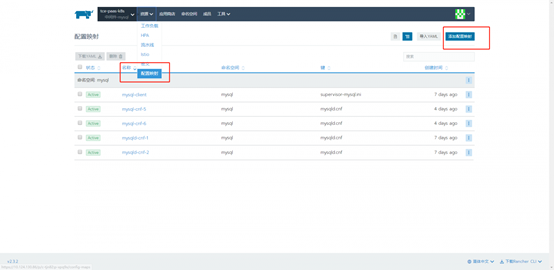
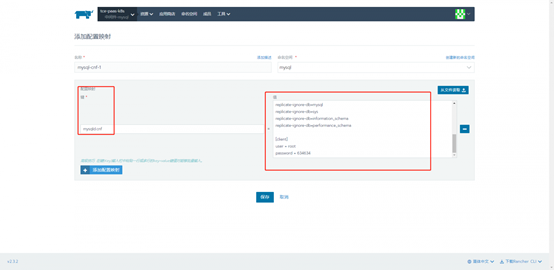
键名MySQLd.cnf
## The Percona Server 5.7 configuration file.
### * IMPORTANT: Additional settings that can override those from this file!
# The files must end with '.cnf', otherwise they'll be ignored.
# Please make any edits and changes to the Appropriate sectional files# included below.
[mysqld]
server_id = 1
log-bin= mysql-binread-only=0
replicate-ignore-db=mysql
replicate-ignore-db=sys
replicate-ignore-db=information_schema
replicate-ignore-db=performance_schema
[client]
user = root
password =123456
配置从库映射文件:
## The Percona Server 5.7 configuration file.
### * IMPORTANT: Additional settings that can override those from this file!# The files must end with '.cnf', otherwise they'll be ignored.
# Please make any edits and changes to the appropriate sectional files
# included below.
[mysqld]
server_id = 2
log-bin= mysql-binread-only=0
replicate-ignore-db=mysql
replicate-ignore-db=sys
replicate-ignore-db=information_schema
replicate-ignore-db=performance_schema
[client]
user = root
password =123456
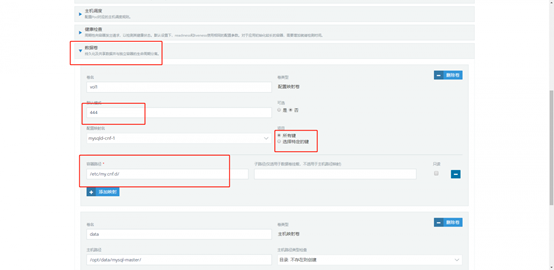
文件挂载目录 /etc/my.cnf.d/
部署服务,type=statefulset,port:3306 默认模式 444
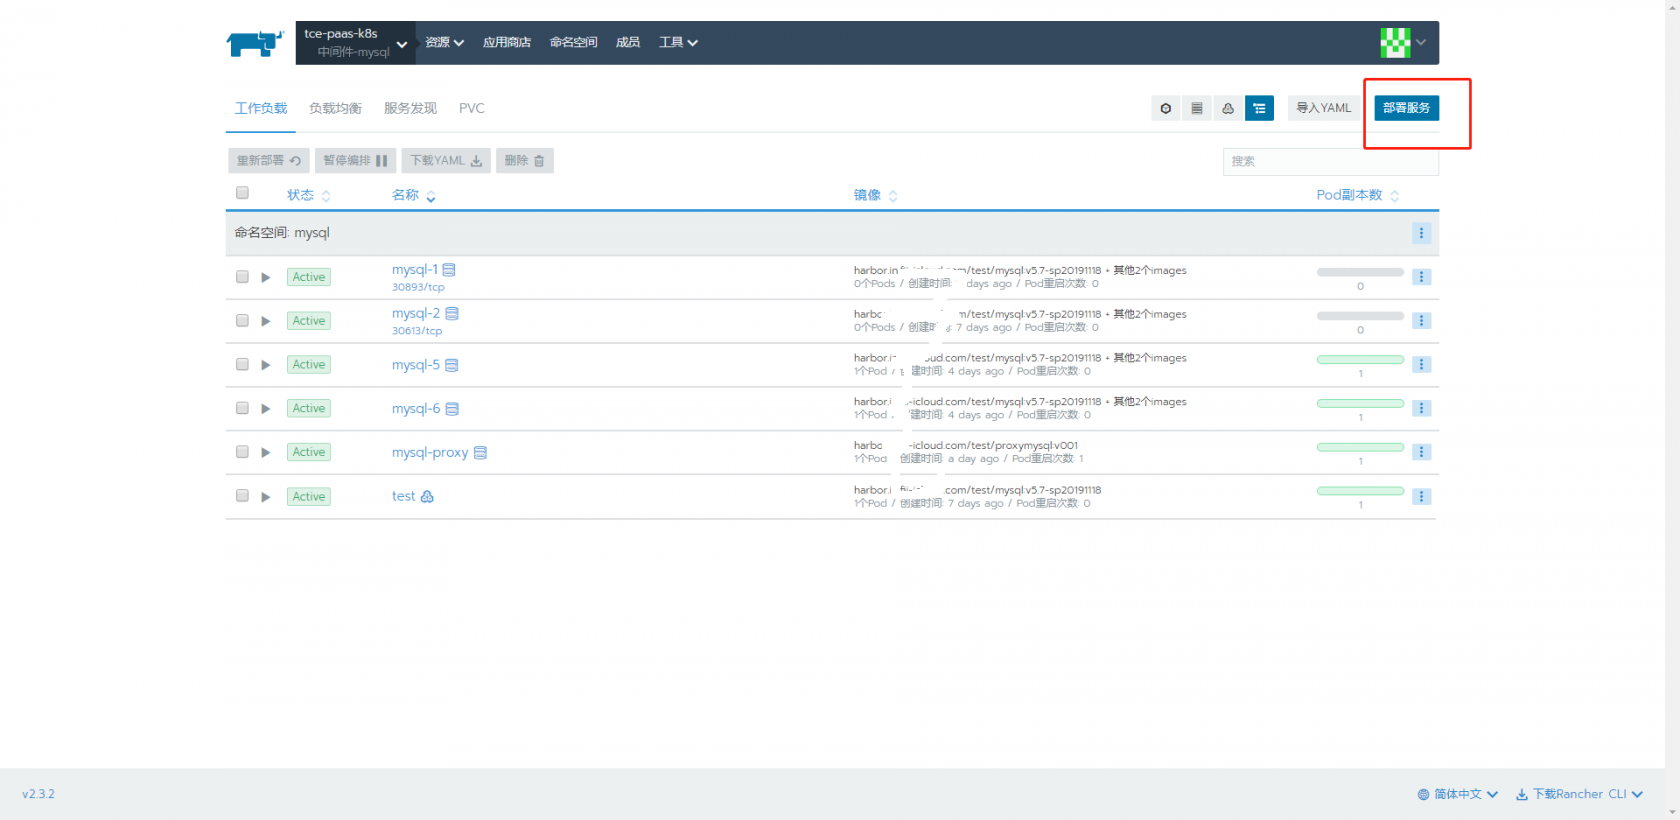

部署完成需要给每个工作负载添加一个sidecar

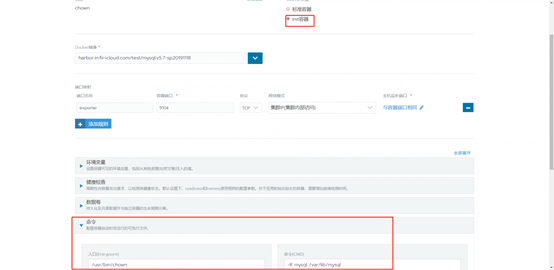
选择init容器
执行命令 入口:/usr/bin/chown 命令:-R mysql /var/lib/mysql
建好后,重新部署mysql-1,mysql-2。
分别进入mysql-1,mysql-2,命令行界面,查看mysql服务是否正常运行;
设置主从前须保证主从能正常通讯且数据一致,否则主从关系无法建立或操作不一致的数据时会导致主从关系Error。
进入mysql-1或者mysql-2命令行,新建脚本 setgroup.sh(文件名自行命名):
#!/bin/bash
MASTERNAME="mysql-1" #数据库信息
SLAVE_2="mysql-2"
#SLAVE_3="mysql-3"
PORT="3306"
USERNAME="root"
PWD="634634"
touch tmp.txt
mysql -h${MASTERNAME} << EOF
reset master;
grant replication slave on *.* to '${MASTERNAME}'@'%' identified by '${PWD}';
flush privileges;
tee ./tmp.txt;
show master statusG;
notee;
EOF
FILE_bin=`awk '/File/ {print $2}' tmp.txt`
POSIT=`awk '/Position/ {print $2}' tmp.txt`
rm -rf ./tmp.txt
touch tmp1.txt
mysql -h${SLAVE_2} << EOF
stop slave;
change master to master_host='${MASTERNAME}',master_port=${PORT},master_user='${USERNAME}',master_password='${PWD}',master_log_file='${FILE_bin}',master_log_pos=${POSIT};
start slave;
tee ./tmp1.txt;
show slave statusG;
show variables like "server_id";
notee;
EOF
id_1=`awk '/server_id/' tmp1.txt`
IO_sta_1=`awk '/Slave_IO_Running/' tmp1.txt`
SQL_sta_1=`awk '/Slave_SQL_Running:/' tmp1.txt`
rm -rf tmp1.txt
#touch tmp2.txt
#mysql -h${SLAVE_3} << EOF
#stop slave;
#change master to master_host='${MASTERNAME}',master_port=${PORT},master_user='${USERNAME}',master_password='${PWD}',master_log_file='${FILE_bin}',master_log_pos=${POSIT};
#start slave;
#tee ./tmp2.txt;
#show slave statusG;
#show variables like "server_id";
#notee;
#EOF
#id_2=`awk '/server_id/' tmp2.txt`
#IO_sta_2=`awk '/Slave_IO_Running/' tmp2.txt`
#SQL_sta_2=`awk '/Slave_SQL_Running:/' tmp2.txt`
#rm -rf tmp2.txt
#clear
echo ${id_1}
echo ${IO_sta_1}
echo ${SQL_sta_1}
#echo ${id_2}
#echo ${IO_sta_2}
#echo ${SQL_sta_2}
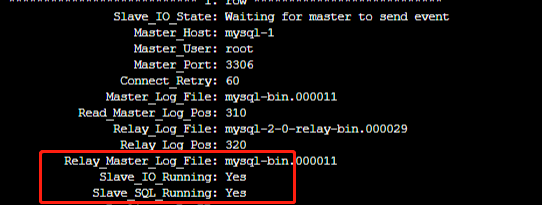
执行./setgroup,进入mysql-2查看链接状态:
[root@mysql-2-0 app]# mysql;
mysql>show slave statusG
4、验证
user=root password=634634,服务器配置文件已经在[client]字段添加好了,所以直接mysql就可以进入控制台。
进入mysql-1,新建一个database ,再进入mysql-2验证是否同步;
[root@mysql-1-0 app]# mysql;
mysql>create database test;
mysql>show databases;
[root@mysql-2-0 app]# mysql;
mysql>show databases;