教程通过PS给人物进行质感修图,可以根据图片素材来练习制作一下,通过前后图的对比来看一下,都做了哪些修饰,主要是人物面部的一些修图,皮肤看起来更有质感,妆容也很精致,一起来学习一下吧,相信同学们可以学习得更好,把握好细节,制作的时候要有耐心,同学们动手操作起来吧。
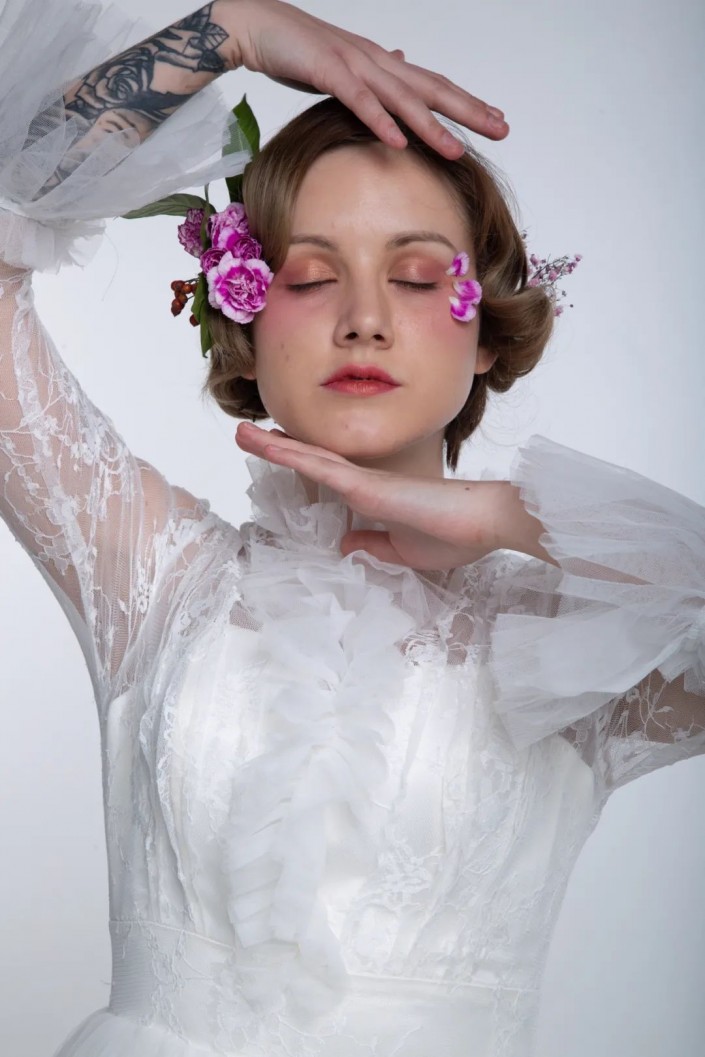
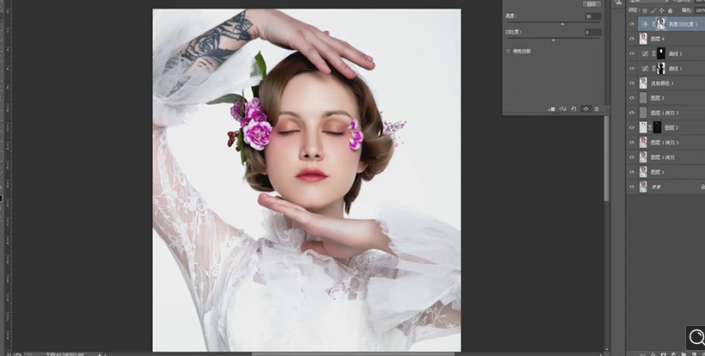
效果图:

操纵步骤:
1.【打开】PS,【导入】素材,【Ctrl+J】复制图层,【滤镜】-【Camera 滤镜,调整【基本】面板参数,具体参数效果如图示。

2.【滤镜】-【液化】,对人物进行液化调整,具体如图示。

3.使用【仿制图章工具】,【Alt】取样,不透明度50%,进行涂抹,具体如图示。

4.使用【矩形选框工具】,拉出矩形选框,【Ctrl+J】复制图层,【Ctrl+T】水平翻转,调整【位置】,按【Alt+单击蒙版】创建剪切蒙版,使用【画笔工具】,白色画笔,进行涂抹嘴唇,具体如图示。
5.使用【矩形选框工具】,拉出矩形选框,【滤镜】-【液化】,对人物进行液化调整,具体如图示。

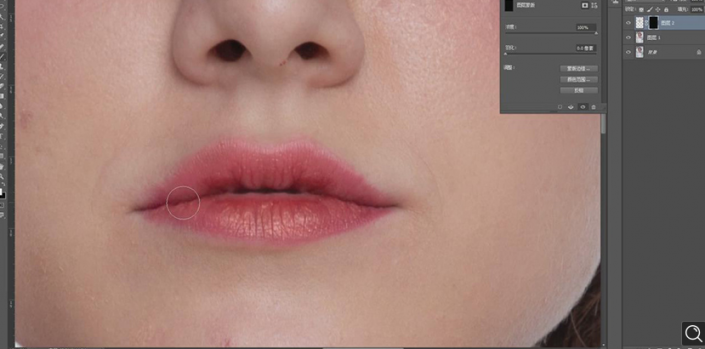
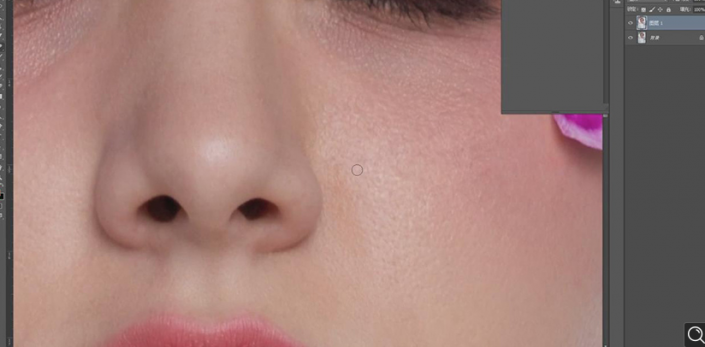
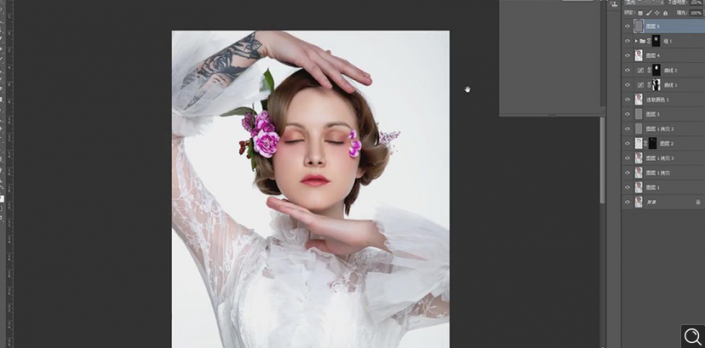
6.使用【污点修复画笔工具】,【Alt】取样,修复脸部与皮肤瑕疵部分,具体如图示。
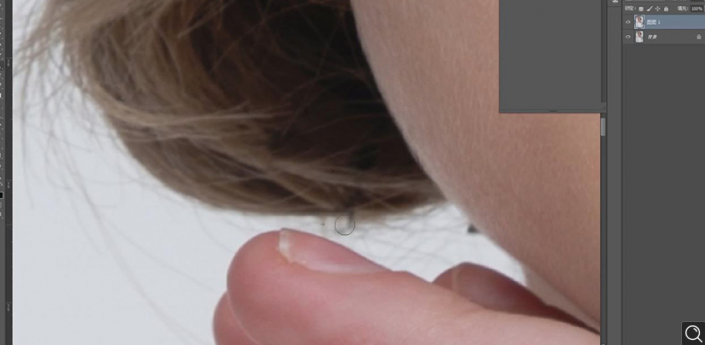
7.使用【仿制图章工具】,【Alt】取样,进行修复头发边缘,具体如图示。
8.【Ctrl+J】复制两个图层,【滤镜】-【模糊】-【高斯模糊】4像素,具体如图示。

9.【图像】-【应用图像】,调整【图层】图层1拷贝,【混合】减去,【缩放】2,【补偿值】128,调整【图层模式】线性光,具体如图示。

10.【Ctrl+J】复制图层,【滤镜】-【Imagenomic】-【Portraiture】,【吸管】点击皮肤,具体如图示。

11.按【Alt+单击蒙版】创建黑色蒙版,使用【画笔工具】,白色画笔,进行涂抹皮肤与脸部,具体如图示。

12.【Ctrl+E】合并所选图层,【Ctrl+J】复制图层,使用【仿制图章工具】,【Alt】取样,进行涂抹脸部皮肤,具体如图示。

13.使用【W】魔棒工具,进行选区皮肤,【Shift+F6】羽化3像素,【Ctrl+J】复制图层,【滤镜】-【模糊】-【高斯模糊】30.5像素,【Ctrl+I】蒙版反向,使用【画笔工具】,白色画笔,进行涂抹,具体如图示。

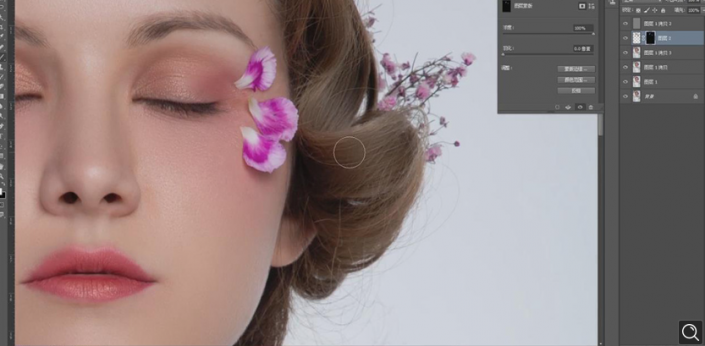
14.使用【魔棒工具】,进行选区头发,【Shift+F6】羽化3像素,【Ctrl+J】复制图层,按【Ctrl+单击缩览图】调出选区,【滤镜】-【模糊】-【高斯模糊】30.5像素,使用【画笔工具】,白色画笔,进行涂抹,具体如图示。
15.【Ctrl+Shift+N】新建图层,【模式】柔光,勾选【填充柔光中性色50%灰】,使用【画笔工具】,进行涂抹,调整【不透明度】50%,具体如图示。

16.【Ctrl+Alt+Shift+E】盖印图层,【Ctrl+Shift+A】Camera Raw滤镜,调整【基本】面板参数,具体参数效果如图示。

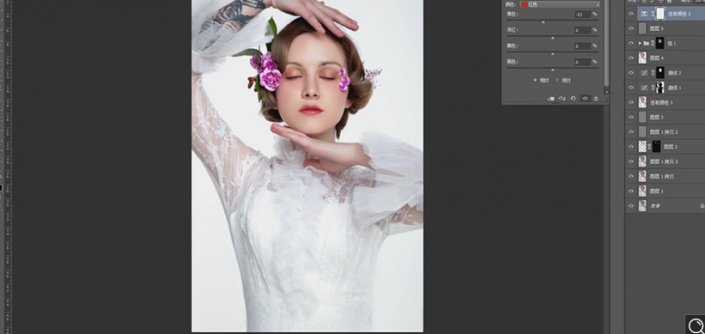
17.新建【色相/饱和度】,调整【红色】色相+21。【Ctrl+I】蒙版反向,使用【画笔工具】,白色画笔,进行涂抹,具体如图示。

18.新建【可选颜色】,调整【黄色】青色-50%,洋红+21%。【红色】青色-16%,洋红+17%,【Ctrl+I】蒙版反向,使用【画笔工具】,白色画笔,进行涂抹,具体如图示。

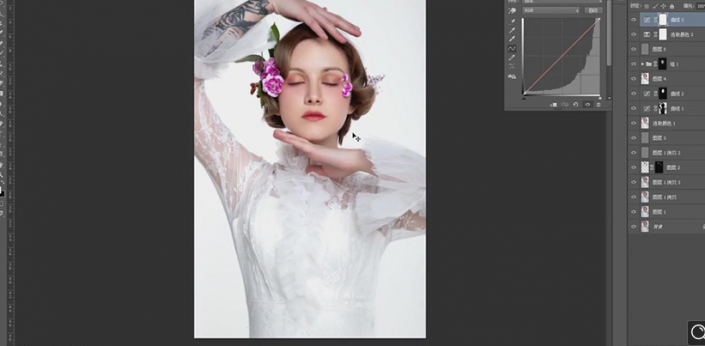
19.使用【魔棒工具】,进行选区背景,【Shift+F6】羽化11像素,新建【曲线】,进行提亮调整,使用【画笔工具】,白色画笔,进行涂抹,具体如图示。

20.按【Ctrl+单击缩览图】调出脸部选区,新建【曲线】,调整【曲线】,具体如图示

21.【Ctrl+Alt+Shift+E】盖印图层,【滤镜】-【锐化】-【USM锐化】,调整【数量】8%,具体如图示。

22.【图像】-【计算】,【通道】灰色,【通道】面板,按【Ctrl+单击Alpha通道】调出选区,点击【RGB】,回到【图层】面板,新建【亮度/对比度】,调整【亮度】30,具体如图示。
23.【Ctrl+G】图层编组,按【Alt+单击图层键】创建黑色蒙版,使用【画笔工具】,进行涂抹,调整【不透明度】30%,具体如图示。

24.【Ctrl+Alt+Shift+E】盖印图层,【滤镜】-【其他】-【高反差保留】3像素,调整【图层模式】柔光,具体如图示。
25.新建【可选颜色】,调整【红色】青色-24%,具体如图示。
26.新建【曲线】,调整【红色】曲线,具体如图示。
27.最终效果具体如图所示。