本篇教程通过实例打造一张人物的炫酷头像,同学们可以通过具体的操作来学习一下动感模糊究竟是如何使用的,相信你通过教程可以很快学会,并且打造属于自己的个性头像。
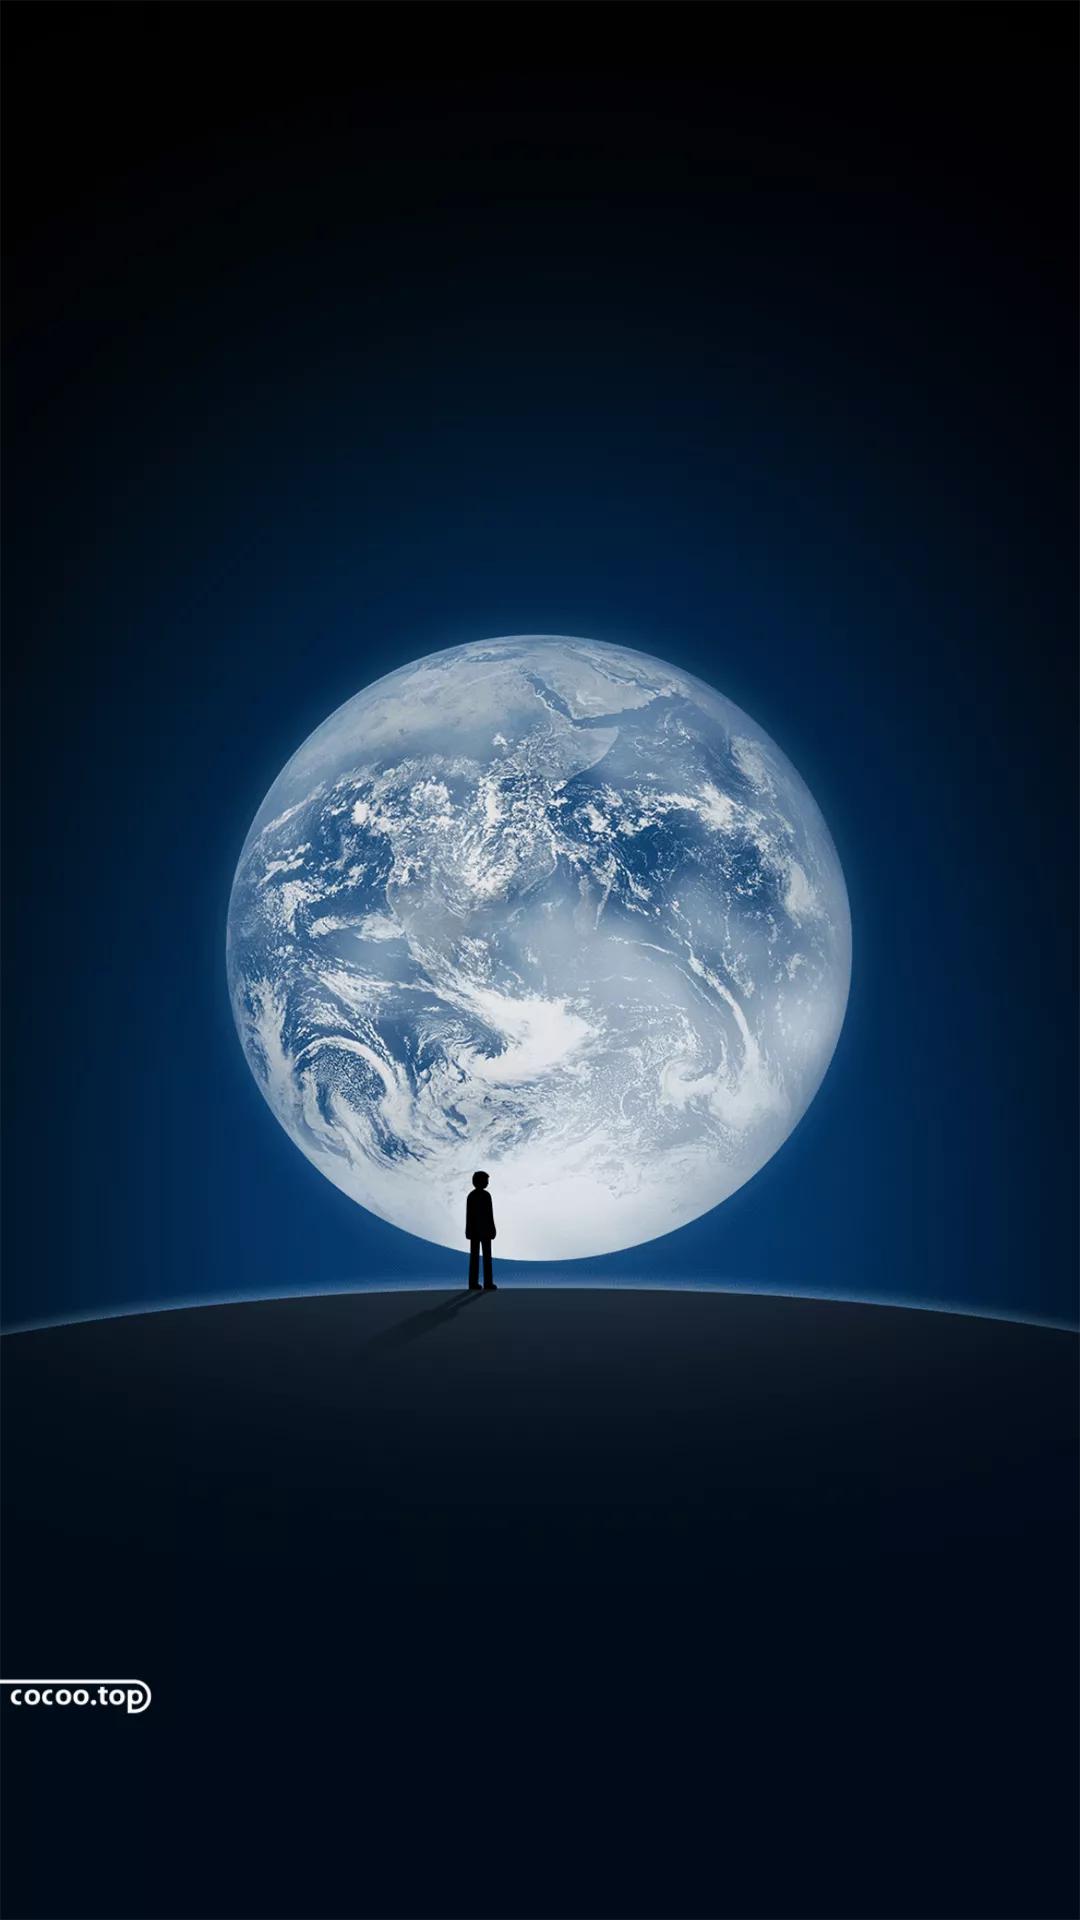
效果图:

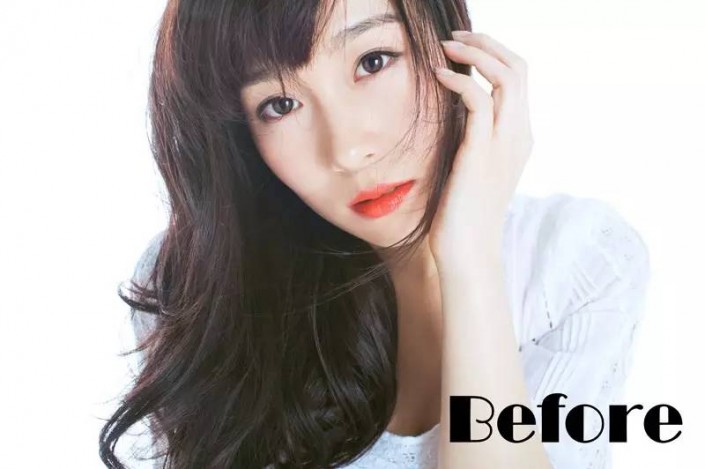
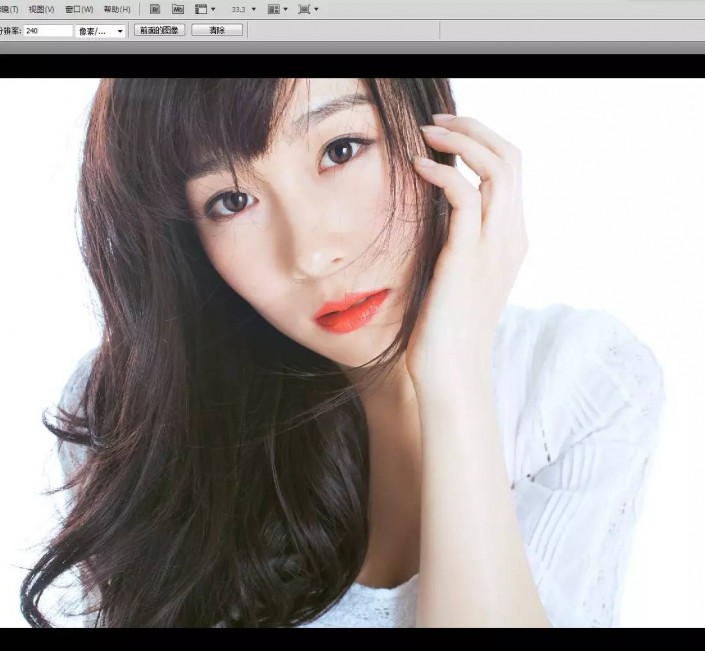
素材:
操作步骤:
1、载入我们要处理的原图。
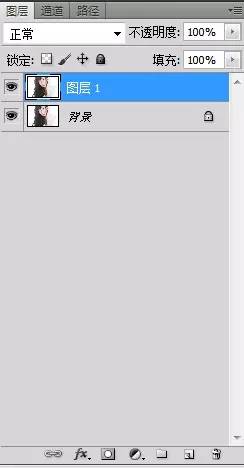
2、使用快捷键Ctrl+J,复制一层得到图层1。
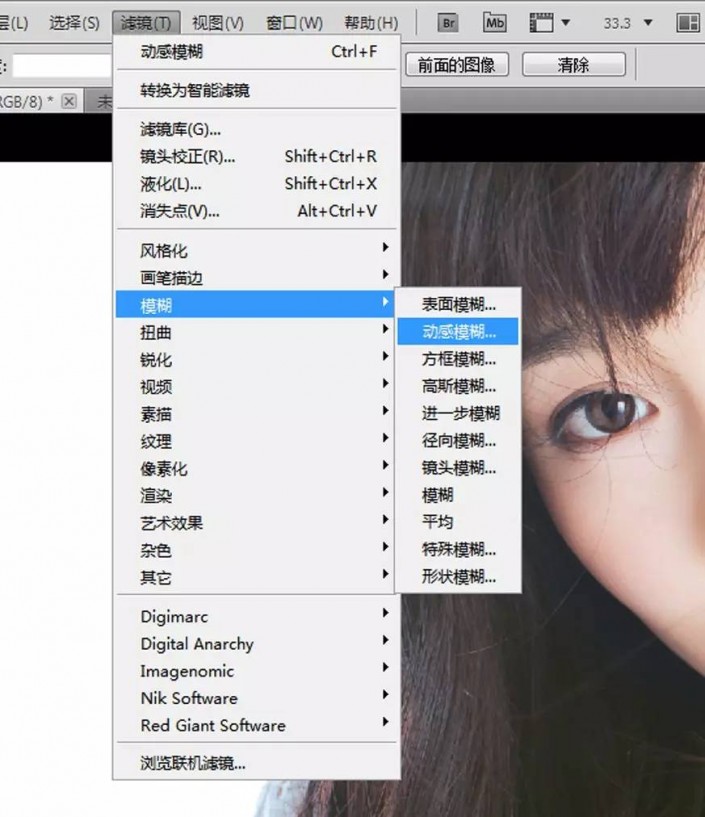
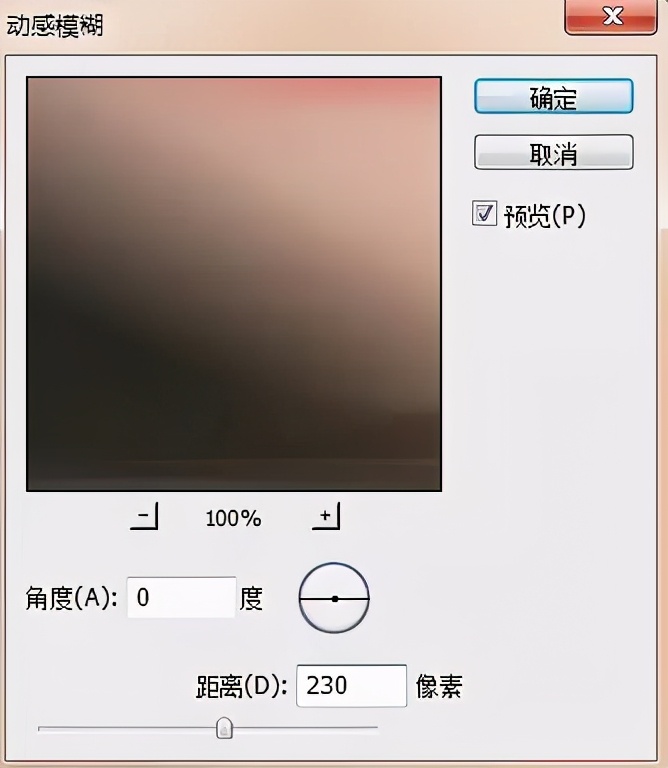
3、上PS顶端选择滤镜-模糊-动感模糊。
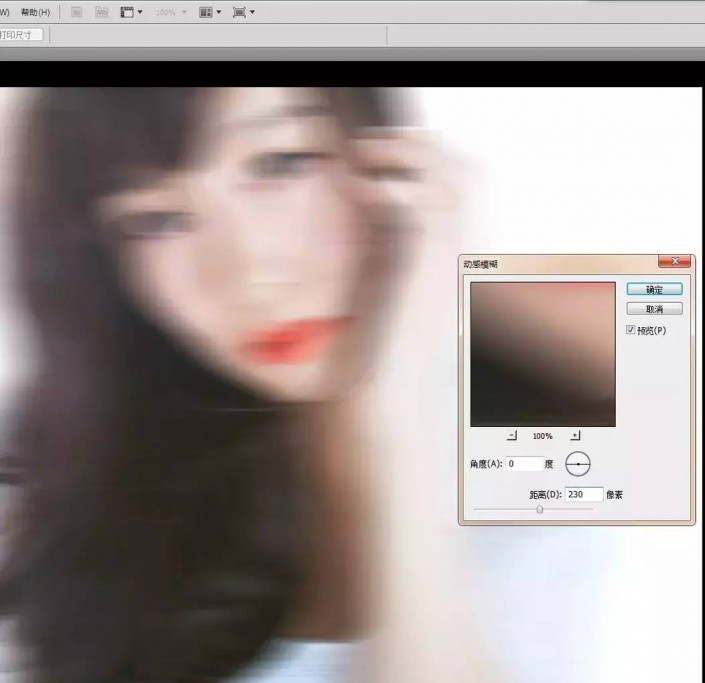
4、在动感模糊对话框中,让模糊角度为0度,横向模糊,距离230像素,这是按照我希望的模糊强度设置的,数据可以根据个人喜好来调整,然后点击确定。
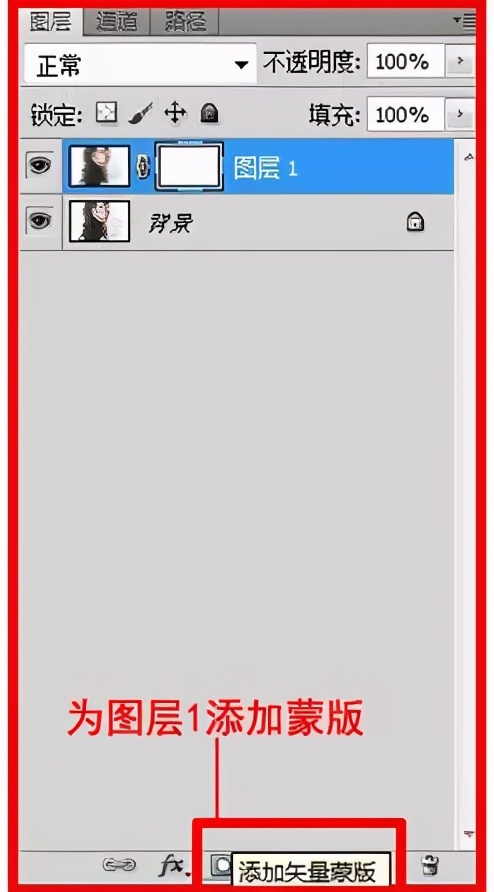
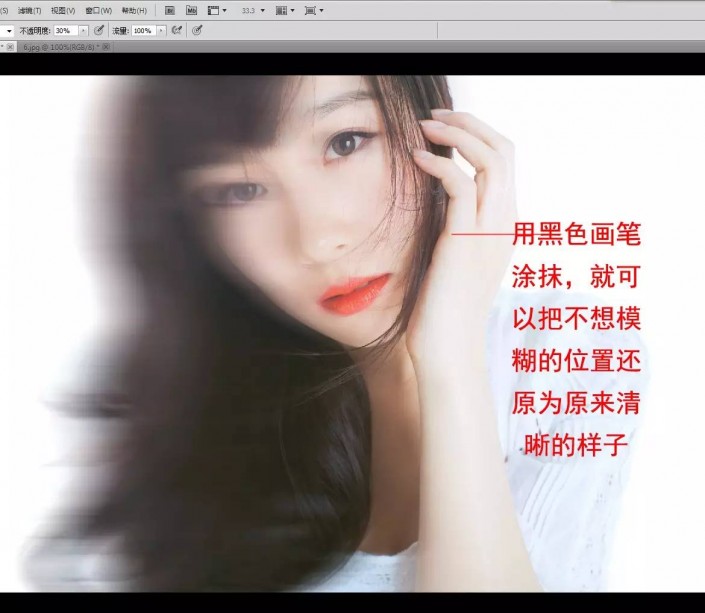
5、用黑色画笔和蒙版http://www.16xx8.com/tags/38847/工具还原清晰的区域,同时保留动态模糊的区域。

继续用画笔涂抹
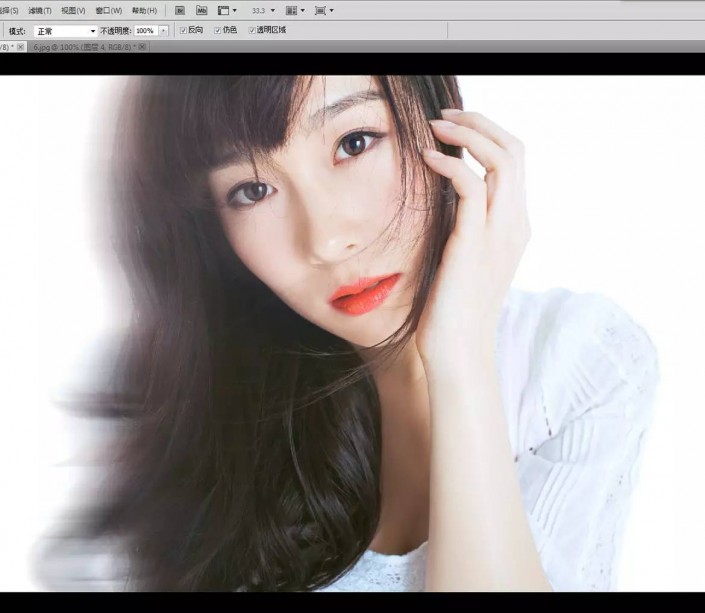
完成: